Grow Amaryllis Outdoors in Pots: Easy Step-by-Step Guide

Are you looking for a fun and rewarding gardening project? Look no further than growing amaryllis outdoors in pots! Not only is it a great way to add a pop of color to your outdoor living space, but it’s also an easy and low-maintenance way to enjoy beautiful blooms. With the right tools and techniques, you can create a stunning display of these iconic flowers.
Key Takeaways:
- Growing amaryllis outdoors in pots is an easy way to add color to your outdoor space.
- The right bulbs, pots, and soil are key to successful amaryllis container gardening.
- Proper sunlight, water, and temperature conditions are crucial for healthy plants and vibrant blooms.
Choosing the Right Amaryllis Bulbs
If you want your amaryllis to thrive and produce impressive blooms, it’s important to start with healthy bulbs. Here are some factors to consider when selecting amaryllis bulbs for outdoor container gardening:
| Factor | Consideration |
|---|---|
| Bulb size | Choose bulbs that are plump and firm. Larger bulbs tend to produce more blooms. |
| Variety | There are many amaryllis varieties available, each with its own unique appearance and blooming habits. Choose a variety that fits your specific preferences and needs. |
| Quality | Avoid bulbs that show signs of damage or rot. Look for bulbs that are free of blemishes and have an intact papery outer layer. |
When it comes to planting amaryllis in pots, the size of the bulb is often the most important factor to consider. Larger bulbs, typically those that are 3-4 inches in diameter, will produce more blooms and larger flowers. However, smaller bulbs can also be successful and may be a more budget-friendly option.
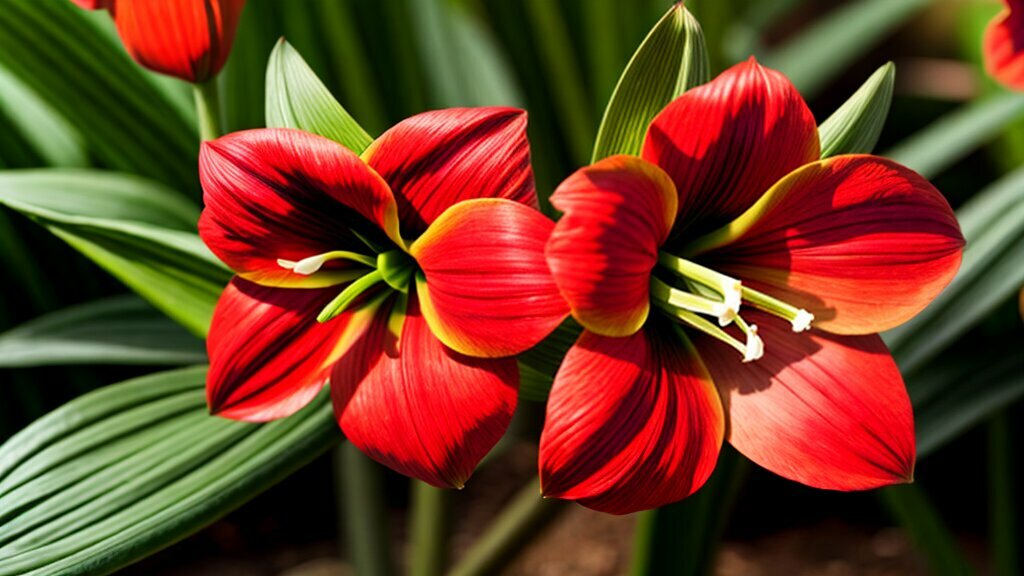
It’s also important to choose a reputable supplier when purchasing amaryllis bulbs. Ordering from a reliable source will increase the likelihood of receiving high-quality bulbs that are free of disease and will grow well in outdoor containers.
Selecting the Perfect Pot and Soil
Choosing the right pot and soil is crucial for the successful growth and blooming of amaryllis in outdoor containers. I recommend using pots that are at least 8-10 inches deep and wide, with good drainage holes. This allows enough room for the bulb to grow and for proper water drainage.
When it comes to the potting mix, a high-quality commercial mix is a great option. Look for mixes that are well-draining and enriched with nutrients. You can also make your own potting mix by combining equal parts of perlite, peat moss, and coarse sand.
| Pot Size | Pot Material |
|---|---|
| 8-10 inches deep and wide | Terra cotta or ceramic |
| Plastic or resin |
It’s important to note that amaryllis bulbs prefer slightly cramped quarters, so don’t choose a pot that’s too large. This can lead to water accumulation and cause root rot. Additionally, avoid using heavy garden soils or compost, which can be too dense and retain too much moisture.
By following these guidelines for selecting the perfect pot and soil, you’ll set your amaryllis up for success and give it the best chance to thrive in an outdoor container garden.

Planting Amaryllis Bulbs in Pots
Now that you have selected the perfect healthy bulbs and the ideal potting mix, it is time to start planting the amaryllis bulbs in pots. Follow these simple steps to ensure proper planting and encourage healthy growth:
- Fill the pot with potting mix until it is about two-thirds full.
- Place each bulb in the pot, making sure to position it with the pointed end up and the roots facing down.
- Leave about an inch or two of space between each bulb and the edge of the pot.
- Add more potting mix around the bulbs, filling up the pot until the bulbs are covered up to their necks.
- Water the pot thoroughly, making sure the potting mix is moist but not waterlogged.
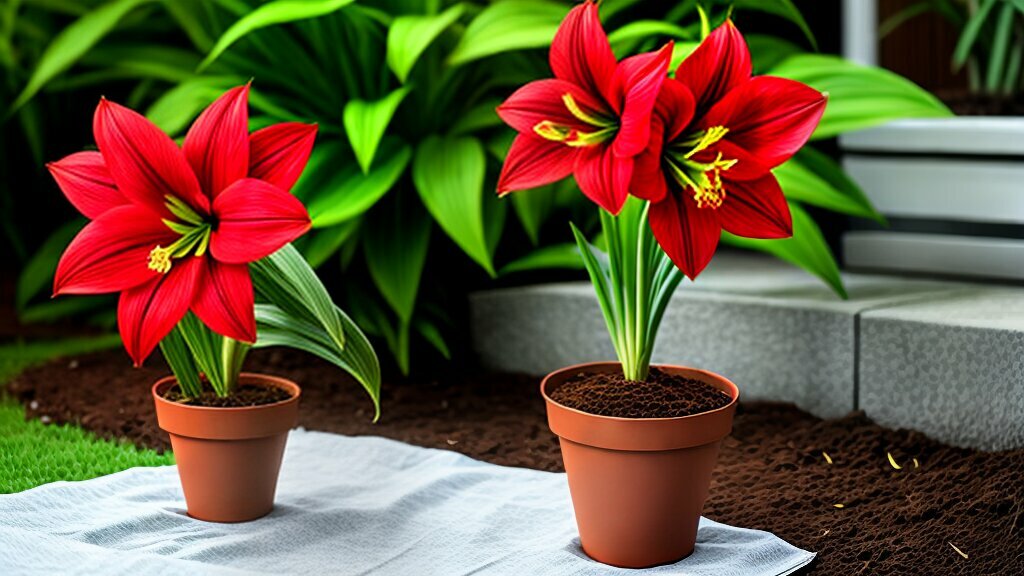
After planting, it is important to provide proper care to the amaryllis in pots. Make sure to place the pot in a warm, well-lit area with indirect sunlight. Water the pot regularly, keeping the soil moist but not soggy. Avoid overwatering, as this can lead to root rot and other issues.
As the amaryllis grows, be sure to continue monitoring its progress. You may need to adjust the watering and fertilizing schedule based on its growth rate and other factors. With proper care, you can enjoy beautiful blooms and lush greenery from your potted amaryllis plants for years to come.
Providing Adequate Water and Nutrients
Watering and fertilizing amaryllis is crucial in ensuring healthy growth and vibrant blooms. However, overwatering can lead to root rot, while too little water can cause the leaves to dry out and yellow.
The best practice is to water the soil thoroughly when it is dry to the touch. The frequency will depend on factors such as the climate and pot size, but generally, amaryllis needs more water in the warmer months and less in the colder ones. It’s important to ensure proper drainage to prevent water from accumulating in the pot, which can lead to root damage.
Amaryllis also benefits from regular fertilizing. A balanced fertilizer with equal parts nitrogen, phosphorus, and potassium is ideal for promoting healthy growth. Fertilizers should be applied every two weeks during the growing season, starting in the spring. In the dormant season, reduce the frequency to once every four to six weeks. Be sure to follow the package instructions for the correct amount and method of application.

When applying fertilizer, it’s important not to get any on the leaves or stem, as it can cause damage. It’s also recommended to avoid fertilizing when the plant is in bloom, as it can shorten the flowering period.
Overall, providing adequate water and nutrients is essential for growing healthy and vibrant amaryllis outdoors in pots. With proper care and attention, these stunning plants can thrive in containers and bring joy and beauty to any outdoor space.
Selecting the Perfect Pot and Soil
Choosing the right pot and soil is essential for growing healthy and beautiful amaryllis plants in outdoor containers. When selecting a pot, opt for one that is at least two inches larger in diameter than the bulb to allow enough room for root growth. Additionally, make sure the pot has adequate drainage holes to prevent waterlogging, which can lead to root rot.
For soil, use a well-draining potting mix that is rich in organic matter. You can also add perlite or coarse sand to the mix to improve drainage. Avoid using soil from your garden, as it may contain pests or diseases that can harm your amaryllis.
| Pot Materials: | Terra cotta | Ceramic | Plastic |
|---|---|---|---|
| Pros: | Natural and porous | Durable and attractive | Lightweight and affordable |
| Cons: | May dry out soil too quickly | Heavy and breakable | May not be as sturdy |
When it comes to choosing the right material for your pot, consider the pros and cons of each option. Terra cotta pots are natural and porous, allowing for good airflow to the roots, but they may dry out the soil too quickly. Ceramic pots are durable and attractive, but they can be heavy and breakable. Plastic pots are lightweight and affordable, but may not be as sturdy.
Keep in mind that amaryllis plants prefer to be slightly pot-bound, so avoid choosing a pot that is too large for your bulb. With the right pot and soil, your amaryllis will thrive and bloom beautifully outdoors.

Staking and Supporting Amaryllis Stems
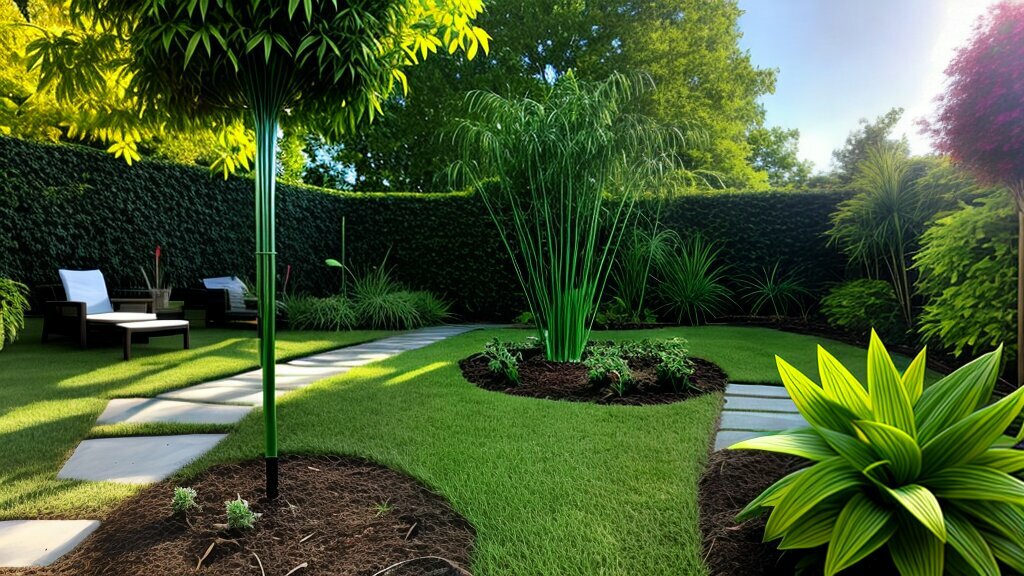
One of the most important aspects of growing amaryllis in pots is providing support for the stems to prevent them from bending or breaking under the weight of the blooms. Without proper support, the weight of the flowers can cause the stem to topple or even snap, damaging the plant.
To prevent this, I always stake my amaryllis stems early on in the growth process.
There are many different staking methods to choose from, such as using bamboo stakes, tomato cages, or metal rods. However, I prefer using plastic-coated metal stakes that are specifically designed for supporting plants.
Once I’ve selected my preferred method, I insert the stake into the soil beside the stem, being careful not to damage the bulb.
I then use soft plant ties or twine to gently secure the stem to the stake, being careful not to tie it too tightly as this can damage the stem.
As the stem grows taller and the flowers begin to bloom, I adjust the ties as needed to ensure the stem remains upright and supported.
With the proper staking and support, your amaryllis plants can bloom beautifully without any risk of damage.
Dealing with Common Pests and Diseases
One of the biggest challenges in outdoor container gardening is dealing with pests and diseases that can damage our plants. Amaryllis, like many other plants, can be vulnerable to a variety of issues that can affect their health and blooming. Here are some common pests and diseases to watch out for and how to address them:
| Pest/Disease | Symptoms | Treatment |
|---|---|---|
| Spider Mites | Webbing on leaves, yellowing leaves, stunted growth | Wipe leaves with a damp cloth, apply insecticidal soap or neem oil |
| Thrips | White or yellow spots on leaves, distorted foliage | Apply insecticidal soap or neem oil |
| Aphids | Curling or yellowing leaves, sticky residue on foliage | Wipe leaves with a damp cloth, apply insecticidal soap or neem oil |
| Gray Mold | Brown spots on leaves, moldy growth on leaves or soil | Remove affected parts of the plant, improve air circulation, reduce watering |
| Root Rot | Yellowing leaves, mushy or dark roots | Reduce watering, improve drainage, repot with fresh soil |
Prevention is key to avoiding pest and disease problems in our amaryllis plants. Regularly inspecting the leaves and soil for signs of trouble can help identify issues early on. Maintaining good sanitation practices, such as removing dead leaves and debris, can also help to prevent the buildup of harmful organisms.
By following the tips and techniques outlined in this article, we can successfully grow and maintain beautiful amaryllis plants in outdoor containers. With a little bit of care and attention, our plants can thrive and provide us with gorgeous, vibrant blooms year after year.
Pruning and Deadheading for Continuous Blooming
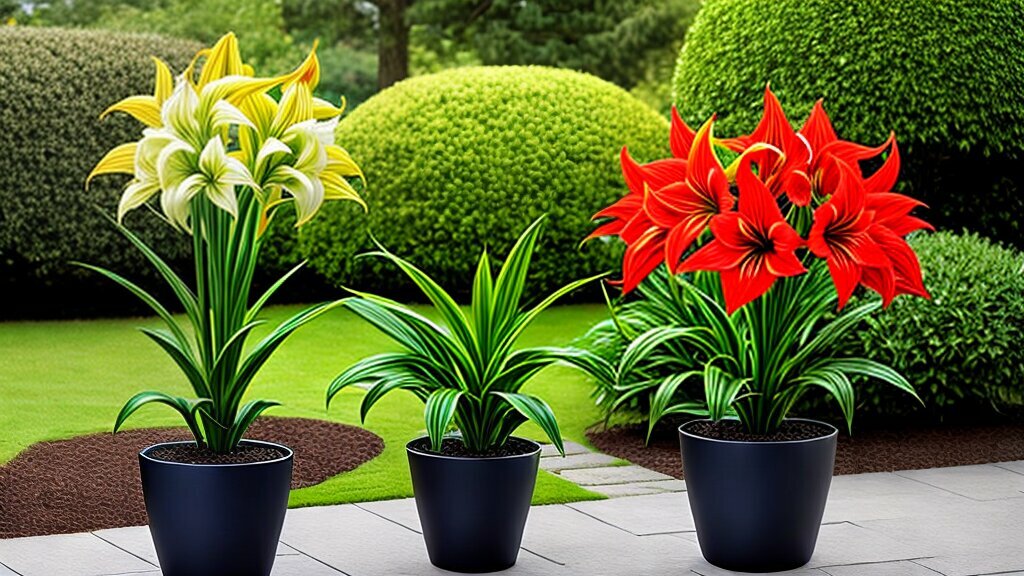
Pruning and deadheading are essential techniques for promoting continuous blooming in your amaryllis plants. By removing spent flowers and leaves, you can redirect the plant’s energy towards new growth and future blooms.
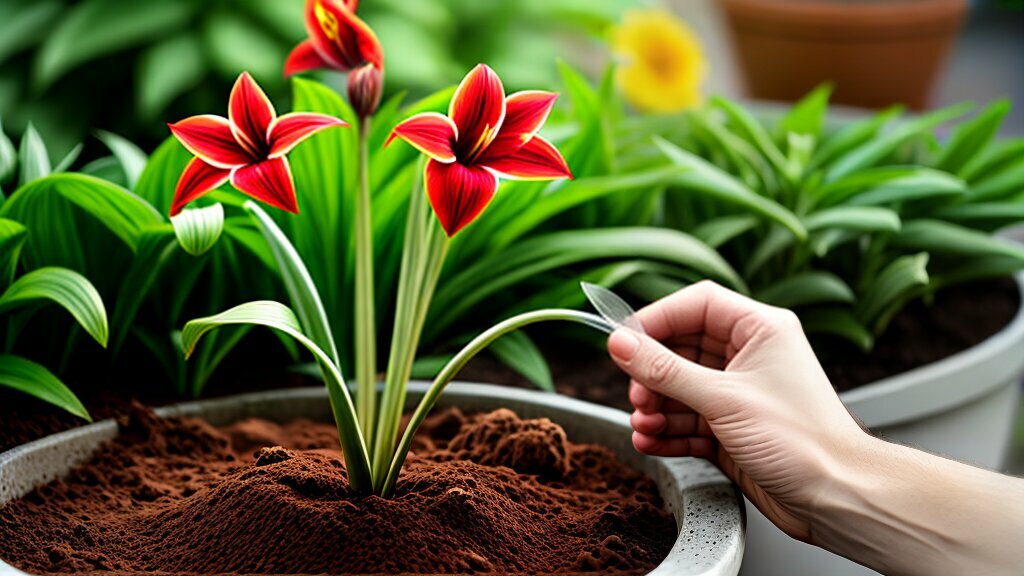
To deadhead your amaryllis, simply cut the spent flower stem near the base of the plant, taking care not to damage any new growth. If your plant is producing multiple flower stems, be sure to deadhead each stem as it finishes blooming.
Pruning is a more extensive form of deadheading, involving the removal of entire leaves or stems. This technique can be used to shape your plant and promote a fuller, bushier growth habit. To prune your amaryllis, simply use a clean, sharp pair of scissors to snip off the desired leaves or stems at the base of the plant.
It’s important to note that pruning can also stimulate new growth and encourage additional blooming, so don’t be afraid to experiment with different pruning techniques. Just be sure not to remove more than 1/3 of the plant at a time, as this can lead to stress and damage.
By practicing regular deadheading and pruning, you can enjoy a continuous display of beautiful blooms from your amaryllis plant throughout the growing season.
Overwintering Amaryllis Bulbs in Pots
Overwintering your amaryllis bulbs in pots can save you time and money on buying new bulbs every year. This process allows you to care for and maintain your bulbs during the dormant period, ensuring their vitality for the next bloom cycle.
The first step in overwintering bulbs is to stop watering and feeding them and allow the foliage to die back and dry out naturally. Once the leaves have completely withered, remove them from the pot and gently lift the bulbs from the soil.
| Step | Instructions |
|---|---|
| 1 | Remove any remaining soil from the bulbs and brush off any excess. Be careful not to damage the roots or bulb scales. |
| 2 | Inspect the bulbs for any signs of damage or disease. Discard any that appear unhealthy or damaged. |
| 3 | Allow the bulbs to dry for several days in a cool, dark location to promote dormancy. |
| 4 | Store the bulbs in a dry, cool location with good air circulation, such as a paper bag or mesh container. Be sure to label the container with the variety and date of storage. |
During the winter months, check on your bulbs periodically and discard any that show signs of mold or rot. You can replant your amaryllis bulbs in fresh soil and begin the growth process again in the spring, giving them a head start in the growing season.
Overwintering your amaryllis bulbs in pots is an easy and cost-effective way to ensure healthy growth and blooming for years to come.

Troubleshooting Common Growing Issues
Despite your best efforts, growing amaryllis outdoors in pots can sometimes present challenges. Here are some common problems you may encounter and tips on how to solve them:
Yellowing Leaves
If your amaryllis leaves are turning yellow, it could be a sign of overwatering or underwatering. Check your soil moisture level and adjust your watering accordingly. Additionally, make sure your plant is not getting too much direct sunlight, which can also cause yellowing leaves.
Non-Blooming Bulbs
If your amaryllis bulbs are not blooming, it could be due to insufficient sunlight, incorrect watering, or lack of nutrients. Ensure your plant is getting enough sunlight by moving it to a brighter location and make sure you are watering and fertilizing it properly.
General Plant Stress
If your amaryllis plant appears stressed, it could be due to a variety of factors including pests, diseases, and improper care. Check for pests and treat as necessary, ensure you are providing adequate water and nutrients, and review the care instructions to make sure you are meeting all of your plant’s needs.
By identifying and addressing these common problems, you can help your amaryllis plants thrive and enjoy their beautiful blooms for years to come.
Conclusion
Overall, growing amaryllis outdoors in pots is a fun and rewarding gardening experience. By following these easy step-by-step instructions, you can enjoy beautiful blooms and healthy plants right in your own backyard.
Remember to choose healthy amaryllis bulbs, provide adequate water and nutrients, and ensure proper sunlight and temperature conditions. It’s also important to stake and support the stems, prune and deadhead for continuous blooming, and address any common growing issues that may arise.
By overwintering your amaryllis bulbs in pots and troubleshooting any issues that arise, you can enjoy the beauty of these stunning plants year after year. So why not give it a try and see how your outdoor container garden flourishes with the beauty of amaryllis?
FAQ
Q: Can I grow amaryllis outdoors in pots?
A: Yes, you can grow amaryllis outdoors in pots and enjoy their beautiful blooms.
Q: How do I choose the right amaryllis bulbs for outdoor container gardening?
A: When selecting amaryllis bulbs, consider factors such as bulb size, variety, and quality. Choose healthy bulbs for the best results.
Q: What pots and soil should I use for potting amaryllis?
A: Select pots with proper size, material, and drainage. Use a well-draining potting mix for optimal growth and blooming.
Q: How do I plant amaryllis bulbs in pots?
A: Follow these steps: plant bulbs at the right depth, space them properly, and provide adequate watering. Take care of their sunlight exposure and temperature requirements.
Q: How do I provide proper water and nutrients for amaryllis in pots?
A: Water amaryllis regularly, considering their drainage needs. Use appropriate fertilizers to promote healthy growth and vibrant blooms.
Q: What sunlight and temperature conditions do amaryllis need when grown in pots?
A: Find the right balance of sunlight and temperature for amaryllis outdoors. Protect them from extreme heat or cold to ensure their well-being.
Q: How do I stake and support amaryllis stems in pots?
A: Staking and supporting amaryllis stems prevent them from bending or breaking. Follow practical tips and methods for providing necessary support.
Q: How do I deal with common pests and diseases affecting amaryllis in pots?
A: Identify, prevent, and treat common pests and diseases that may affect amaryllis. Keep your plants healthy and thriving.
Q: How do I prune and deadhead amaryllis for continuous blooming?
A: Pruning and deadheading redirect energy towards new growth and future blooms. Remove spent flowers and leaves with proper techniques.
Q: How do I overwinter amaryllis bulbs in pots?
A: Follow guidelines for overwintering amaryllis bulbs in pots to ensure their survival during the dormant period. Provide proper temperature and storage conditions.
Q: What should I do if I encounter common growing issues with amaryllis in pots?
A: Troubleshoot common growing issues such as yellowing leaves, non-blooming bulbs, and plant stress. Find tips and solutions to resolve these problems.
 Little Garden Tips
